
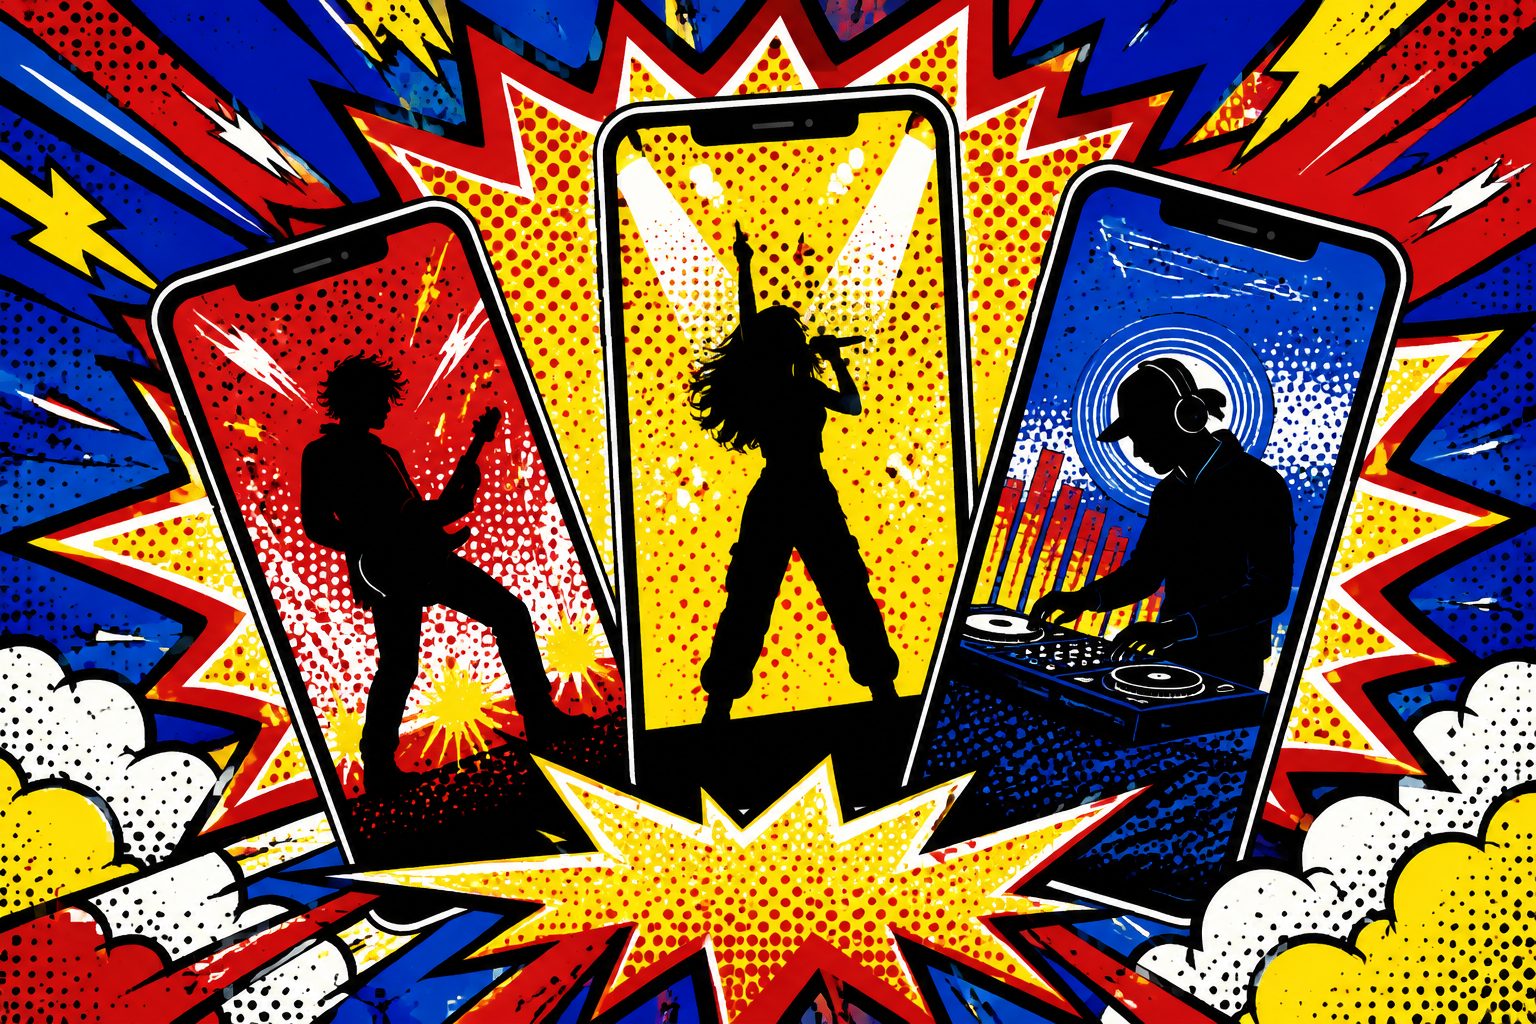
Make a Music Video With Zero Editing Skills: The Complete Audio-to-Finished-MV Guide (2026)
Make a Music Video With Zero Editing Skills: The Complete Audio-to-Finished-MV Guide
You have a song — maybe you wrote it, maybe an AI generated it — and you want to put visuals to it and post it online. But the moment you open an editing app, dozens of tracks, keyframes and transition curves stare back at you, and ten minutes later you’ve quietly closed the software.
This is the real reason most people get stuck at “I have a song but no video”: it’s not a lack of ideas, it’s that the complexity of the tools chases you away. The happiest change in 2026 is that this barrier is being erased entirely by a new category of tools — you just drop in some audio, and lyric syncing, visual generation, and beat-matched transitions all happen automatically. Export, and you have an MV ready to publish.
This guide doesn’t teach you editing. Quite the opposite — it teaches you how to bypass editing: how the “audio-to-full-MV” track actually works, what the 5 zero-skill steps are, and how to compress the whole thing into 5 minutes.
Practical rule: If your bottleneck for making an MV is “learning the software” rather than “figuring out the visuals,” you don’t need a tutorial — you need a different class of tool. Hand the execution to AI and keep only the aesthetic judgment for yourself.
What Exactly Is the “Audio-to-Full-MV” Category
Let’s define it first. There used to be two paths to a music video: shoot it live (expensive, slow), or piece footage together yourself in an editor (free but extremely time-consuming). The third path that emerged in 2026 is — you give a piece of audio, AI gives you a whole finished video.
The tools in this lane all revolve around the same thing: translating auditory information into visual information. Specifically, they automatically do three chores you used to do by hand:
1. Auto-transcribe and Sync Lyric Subtitles
The tool first transcribes the vocals into text, then pins the subtitles onto the picture line by line at syllable-level timestamps. You don’t have to drag the timeline to align each line — this was the most agonizing step in making karaoke subtitles, and now it’s automatic.
2. Generate Synced Visuals by Song Structure
It analyzes the song’s rhythm, sections (verse, chorus, bridge) and energy swings, then automatically generates matching visuals and places transitions at drum hits and section changes. In other words, it does the “beat-matching” for you — the thing that takes musicality and patience.
3. One-Click Export of a Publish-Ready Finished Cut
The final output is a standard 1080p video file you can upload straight to YouTube, TikTok, or Spotify Canvas — no need to re-enter any editing software to finish.
Practical rule: To judge whether a tool belongs to the “full-MV track,” check if it can go straight from “a piece of audio” to “a publishable finished cut.” If it just hands you a pile of assets to assemble yourself, it’s still an editor, not a generator.
Who’s Playing in This Track Right Now
Let’s be upfront: this field is lively in 2026, with plenty of tools, each with its own focus. Here’s an objective list of the main players to help you build a coordinate system (feature descriptions follow each vendor’s public website info).
- Some tools lead with an “AI Director” concept, planning shots, camera angles and pacing by analyzing the song’s structure like a human director, emphasizing cinematic quality and character consistency (freebeat).
- Some let you pick one of two — “sync with lyrics” or “sync with the beat” — and offer AI-generated visuals or stock footage as visual styles (Revid.AI).
- Some emphasize auto-transcribing and using the lyrics to weave a coherent story with consistent characters (LyricEdits).
- Some auto-detect BPM, structure and energy, then build a storyboard for you on Autopilot (Neural Frames).
The common ground is clear: automatic lyric syncing, beat-matched visuals, multi-platform export. The differences are mostly along these axes — whether visuals are AI-generated or stock, how controllable subtitle styles are, and whether commercial licensing is clear. Watch these points when choosing, instead of getting dazzled by promo images.
Practical rule: When choosing within the same track, ask three questions first — can the visuals be used commercially? Can the subtitle styles be changed? If you tweak one parameter on the same audio, do you have to redo it from scratch? These three decide whether you’ll enjoy using it long-term.
The 5 Zero-Skill Steps: From Audio to Finished Cut
Whichever tool you use, the standard flow for “audio-to-full-MV” is these 5 steps. Understand the flow and you can pick up any tool.
Step 1: Prepare Your Audio
The ideal source is a clean song file — clear vocals, no heavy reverb. If you generated the song with a tool like Suno, just copy the song link — because such sources carry original structure info, lyric syncing comes out most accurate. For a local file, an MP3 is enough.
Step 2: Drop It Into the Generator and Let It Understand Your Song
After you give the audio link or file to the tool, it automatically does three things: transcribe the vocals, detect rhythm and sections, and analyze the emotional curve. You do nothing here — just wait for it to finish. This is the most “black magic” step of the whole flow, and the one that frees you the most.
Step 3: Pick a Visual Style
The tool lets you choose a visual direction — maybe presets like cyberpunk, watercolor, cinematic, or retro film. This is where you genuinely need to “make a judgment”: which style depends on what mood your song is and which platform it’s going to. Lyrical slow songs get cinematic; fast electronic songs get cyberpunk — it’s that direct.
Step 4: Pick a Subtitle Style (Optional but Strongly Recommended)
MVs with lyric subtitles have higher completion rates on every platform, because viewers can sing and read along. Pick a subtitle style that matches the visuals; chorus lines can use a bolder size and outline. This takes a few seconds but adds a lot to the result.
Step 5: Generate, Preview, Export
Hit generate, wait a few minutes, preview once. If a segment of visuals feels off, just tweak a parameter and regenerate that segment — no need to redo from scratch. This is the most satisfying advantage of generative tools over traditional editing. Once you’re happy, export, and you have a finished cut ready to publish.
Practical rule: Step 3 (pick a style) and Step 4 (pick subtitles) are the only two steps that need your brain, and together they take under a minute. If a tool makes you do manual work elsewhere too, its automation isn’t thorough enough.
Compressing These 5 Steps Into 5 Minutes With SunoMV
In SunoMV, the flow above is essentially three actions: “paste link → wait a few minutes → download.” It’s designed for people who can’t edit — automating the most time-consuming chores of lyric syncing, AI imagery, and visual transitions, leaving you only the aesthetic judgment.
The Chores It Does for You
- Auto lyric syncing: Paste a Suno song link and SunoMV automatically pins karaoke subtitles at word-level timestamps; native-link sources reach syllable-level accuracy.
- AI imagery and transitions: Automatically generates visuals matching the song’s sections and places transitions on rhythmic points — no beat-matching skill required.
- 7 subtitle styles: Switch from minimal to bold-outline in one click, no subtitle software needed to adjust styles.
- 1080p finished export: Exports a standard mp4, straight to YouTube / TikTok / Spotify Canvas.
The Judgments Left to You
- Pick a visual style that matches the song’s mood;
- Pick a subtitle style that matches the visuals;
- If you want a particular line to stand out more, adjust its font size and motion individually in the section editor.
That’s it. For a three-minute song, from pasting the link to exporting the finished cut, SunoMV takes about 5 minutes. To get the end-to-end flow smooth first, read the Complete Guide to Turning a Suno Song into a Music Video; to specifically perfect the lyric-subtitle layer, see the AI Lyric Video Generator Guide.
Not Just Suno Sources
If your audio isn’t generated by Suno, no problem — uploading a local MP3 works too, only lyric-sync accuracy drops from “automatic syllable-level” to “automatic line-level + a little manual anchoring.” If you don’t have a song yet, SunoMV has built-in AI composition; you can generate a song from a sentence first and then turn it into an MV in one click.
The 3 Pitfalls People With No Editing Skills Hit Most
Zero-skill doesn’t mean zero-judgment. These are the three spots where beginners crash most; avoid them and your finished cut quality leaps ahead.
Pitfall 1: Visual Style Doesn’t Match the Song’s Mood
The most common mistake is “pick whichever preset looks good,” ending up with a gentle folk song paired with explosive cyberpunk visuals — maximum dissonance. Figure out the song’s mood first, then pick the style — the order can’t be reversed.
Pitfall 2: Forgetting to Fit the Publishing Platform’s Dimensions
A landscape MV posted straight to TikTok gets key visuals cropped. Decide which platform you’re posting to before generating; for vertical platforms just make 9:16. For each platform’s dimension rules, see the Complete Guide to Music Video Sizes and Durations Across Platforms.
Pitfall 3: Subtitles Edge-Hugging and Blocked by UI Buttons
Vertical platforms have a whole column of interaction buttons on the right and a caption area at the bottom that cover the picture edges. Keep subtitles and important elements within the middle 80% safe zone; leave whitespace rather than hug the edge.
Practical rule: What beginners should invest in most isn’t “learning more effects” but “getting the basic judgments right” — mood right, dimensions right, safe zone right. These three account for 80% of an MV’s impression.
FAQ
Q1: Do I really need zero editing background?
Yes. The core value of “audio-to-full-MV” tools is doing the editing step for you. All you need is aesthetic judgment — pick a style, pick subtitles — not software operation skills. No step in the process requires you to open an editor.
Q2: Can the resulting MV be posted directly to every platform?
Yes. These tools export a standard 1080p mp4 you can upload directly to YouTube, TikTok, Instagram Reels, and Spotify Canvas. Just pick the right aspect ratio for each platform in advance (9:16 for vertical platforms).
Q3: If I don’t like one segment of visuals, do I redo everything?
No. Generative tools support “partial regeneration” — tweak one parameter and redo only that segment, keeping the rest. This is the biggest efficiency edge over traditional editing, where changing one spot often means realigning the whole timeline.
Q4: How long does it take to make an MV with SunoMV?
For a three-minute song, from pasting the Suno link to exporting the finished cut is about 5 minutes, most of which is waiting for AI to generate visuals; your actual hands-on time is under a minute.
Q5: Can the free plan make a watchable MV?
Yes. SunoMV’s free plan has a daily trial quota, enough to fully experience the paste-link → lyric-sync → imagery → export flow, exporting a watermarked 720p finished cut. For 1080p watermark-free and more subtitle styles, consider upgrading. Exact quotas are per the current page on suno.bi.
Once you’ve walked this “audio-to-full-MV” path, you’ll re-understand something: making a music video was never a technical craft — it’s an aesthetic one. The technical barrier used to be too high, shutting out countless people with ideas; now the tools carry the execution, leaving only one question — what do you want this song to look like? That question, only you can answer.
—— SunoMV Team
Popular guides
- 01 Suno AI Prompt Guide 2026: 10 Tips + Copy-Paste Templates
- 02 How to Turn Any Suno Song into a Music Video: The Complete Workflow
- 03 7 Best Free AI Song Generators in 2026 (Suno, Udio & More, Compared)
- 04 Suno v5 AI Music Complete Guide (2026): From Blank Page to Release-Ready Single
- 05 Suno Video Download Guide 2026: 3 Ways to Export AI Songs as MP4