/icon.png)

The Complete Seedance 2.5 Prompt Guide: Official Formula, Second-Level Timestamps, and 30-Second One-Take Shots (Tested August 2026)

The Complete Seedance 2.5 Prompt Guide: Official Formula, Second-Level Timestamps, and 30-Second One-Take Shots (Tested August 2026)
On August 7, 2026, ByteDance officially rolled the Seedance 2.5 API out onto the Volcengine Ark platform — direct 30-second video generation, up to 50 multimodal reference assets, and more than a dozen languages natively supported. But more worth your ten minutes than the model itself is the Seedance 2.5 Prompt Guide released alongside it: for the first time, it turns “how to write a prompt that doesn’t roll the dice” into a repeatable engineering method.
We lined up the official guide, the official sample prompts released on launch day, and our own real-world test footage side by side, and found something fairly counterintuitive: the habit most people have when writing Seedance prompts is exactly what the official docs explicitly advise against on 2.0 — and that same habit becomes a strength on 2.5.
This post covers three things: how to use the official formula, how to handle the biggest point of disagreement — timestamps — and the two badly underrated levers of lighting and motion.
1. Know 2.5’s Capability Boundaries First: What Your Prompt Is Actually Directing
Before you write a prompt, know what the model can actually handle. Here’s what changed from Seedance 2.0 to 2.5:
| Capability | Seedance 2.0 | Seedance 2.5 |
|---|---|---|
| Max single-clip duration | Up to 15 seconds | Up to 30 seconds |
| Reference asset limit | ~12 | 50 (≤30 images, ≤10 video clips, ≤10 audio clips) |
| Second-level timestamps | Officially “supported but unstable” | Highly responsive, first-class citizen |
| Multi-view subject reference | Not recommended | Supported |
| Output aspect ratio | Fixed 6 presets | Any ratio between 0.4–2.5 |
| New reference capabilities | — | White-model rendering, grid storyboards, seamless video transitions, instruction-based editing |
The 30-second direct output solves the old problem of “a chorus forced into three separate generations, then stitched together.” The 50-asset limit means you can feed in an entire character design sheet, scene references, or even reference audio in one go. Together, these two upgrades make complex storytelling controllable for the first time — instead of a matter of luck.
Practical rule: The duration and asset limits are just the entry ticket — whether you actually use them depends on whether your prompt follows the official formula. A 30-second stream-of-consciousness description still comes out as a 30-second stream of consciousness.
2. The Official Structured Formula: Just Copy This Four-Part Template
The official guide’s recommended structure is very explicit: four parts, in a fixed order.
- Asset referencing: Number every uploaded asset and bind it to a role — who’s the character, who’s the voice, who’s the setting. Recommended phrasing: “Define the woman in Image 1 wearing a red dress and straw hat as Subject 1,” then refer to that same tag throughout. The official guide specifically warns: don’t just write the mapping as text on the image itself (e.g., labeling a reference photo “Zhang San” and then calling them by name directly in the prompt) — with multiple characters, this easily causes confusion or duplicate roles.
- One-sentence summary: Subject + location + event + genre/style + any special camera move, all in a single sentence that captures the whole clip.
- Concrete plot: Break the action into timestamps or “Shot N” segments, writing the visuals, camera movement, action, dialogue, and sound design for each beat — stated positively wherever possible. Negative phrasing should only be used for subtitle and audio control (“no subtitles,” “no BGM”).
- Closing constraints: Add details that hold throughout the whole clip — camera habits, ambient mood, sound design, and overall lighting tone.
Every full sample prompt released on launch day (a 30-second horror short, a warehouse ensemble scene, an underwater chase) strictly follows this skeleton, and every one of them ends with a “things to hold onto” section: character consistency, no subtitles or watermarks, tension arc. This “closing rules” section is well worth copying — it’s essentially drawing a line the model isn’t allowed to cross.
Practical rule: When the reference asset is already precise enough, just reference it — don’t re-describe the visual. The official wording “strictly follow the motion and camera work of Video 1” is enough on its own; you don’t need to spell out the motion frame by frame — doing so just introduces conflicts.
3. Timestamps or Shot Numbers? Two Model Generations, Opposite Answers
This is the single biggest finding from this research, and the pitfall most people fall into.
Seedance 2.0’s official guide is blunt about it: “The model’s support for precise timing (e.g., 0–3 seconds) is unstable, and forcing a strict duration may cause abnormal results,” recommending instead a numbered shot structure like “Shot 1 / Shot 2 / Shot 3” and letting the model decide the pacing itself.
Seedance 2.5, on the other hand, makes second-level timestamps a headline feature. The official account’s own wording is “highly responsive to second-level timestamps in the prompt.” The 2.5 guide says “either timestamps or Shot N work,” and nearly all of the official launch-day sample prompts use 0s-3s: / (0:00–0:05) style notation — directing every single cut down to the second.
In other words, if you’ve been in the habit of writing hard timestamps like [0-4 seconds] for Seedance, on 2.0 you were actually working against the official recommendation, and some of that “unstable roll of the dice” may well trace back to exactly this. The same habit suddenly clicks on 2.5 — not because your prompt-writing improved, but because the model can finally handle it.
Here’s one example shot breakdown for each generation:
2.0-recommended style (numbered shots):
镜头 1:街巷侧拍,男人缓慢起跑,带有急促的呼吸感。
镜头 2:男人撞翻水果摊,镜头快速摇动并给到男人惊恐的特写。
镜头 3:男人翻过矮墙消失,镜头缓慢拉远定格在空荡的街道。
(Translation: Shot 1 — side angle down an alley, a man breaks into a slow run with quick, anxious breathing. Shot 2 — the man knocks over a fruit stand, the camera whip-pans and cuts to a close-up of his panicked face. Shot 3 — the man vanishes over a low wall, the camera slowly pulls back and holds on the empty street.)
2.5-recommended style (second-level timestamps):
0s-3s:低机位中远景,熊猫幼崽趴在绿色草坡上,顺着斜坡慢慢侧滚,阳光从左上方穿过树林。
3s-8s:熊猫滚到画面右下方停下,从侧躺变成趴卧,圆脸朝向镜头,头部小幅抬起又放低。
(Translation: 0s-3s — low-angle medium-wide shot, a baby panda cub lies on a green grassy slope, slowly rolling sideways down the incline, sunlight filtering through the trees from the upper left. 3s-8s — the panda rolls to a stop in the lower right of the frame, shifting from lying on its side to lying flat, its round face turning toward the camera, head lifting slightly and lowering again.)
Practical rule: For anything that needs to hit a beat (music videos, sync-cut edits), pick 2.5 and use timestamps. For content where pacing can be left to the model (narrative shorts, mood pieces), 2.0’s numbered-shot style is plenty. Don’t force second-level timestamps onto 2.0.
This matters especially for music video creators — an MV’s cuts have to land on the beat, and second-level timestamps are exactly the tool for hitting that beat. It’s also why we consider 2.5 the new engine of choice for music video transitions and shot design.
4. Lighting and Color: The Least-Copied, Most Valuable Section in the Official Samples
Read through every official launch-day sample prompt and one thing stands out: each one has its own dedicated lighting paragraph, and it’s written with striking specificity — “low-key horror lighting, dominated by cold blue-green darkness, a fluorescent tube overhead flickering on and off” or “sunlight streams in diagonally from behind the girl, casting a bright Rembrandt lighting pattern across her face.”
This isn’t just flourish — it’s leverage. Official material going back to the 2.0 era already established this: among all the modifiers in a prompt — style descriptors, quality tags, resolution requirements — lighting description has the single biggest impact on visual quality. Most people’s prompts just say “cinematic, 8K,” while the official samples describe light direction, texture, and contrast.
Color grading follows a similarly consistent pattern — all the official samples use a three-layer structure:
- Base tone: The large-area foundation (“desaturated cold blue-green shadows and gray concrete”)
- Secondary tone: The mid-layer tied to the subject (“the otter’s wet, dark fur, a navy school jacket”)
- Accent color: One or two small, recurring highlights (“sickly fluorescent glow, a faint green exit sign in the distance”)
This is straight out of film color grading: the base sets the mood, the mid-layer establishes the subject, and the accent guides the eye. Write your color palette in this three-layer structure, and “cinematic” stops being a matter of luck — it becomes a recipe.
What does it look like when the lighting paragraph is done right? The shadow depth and highlight contour in the finished frame below were written exactly this way — light direction + texture + contrast:
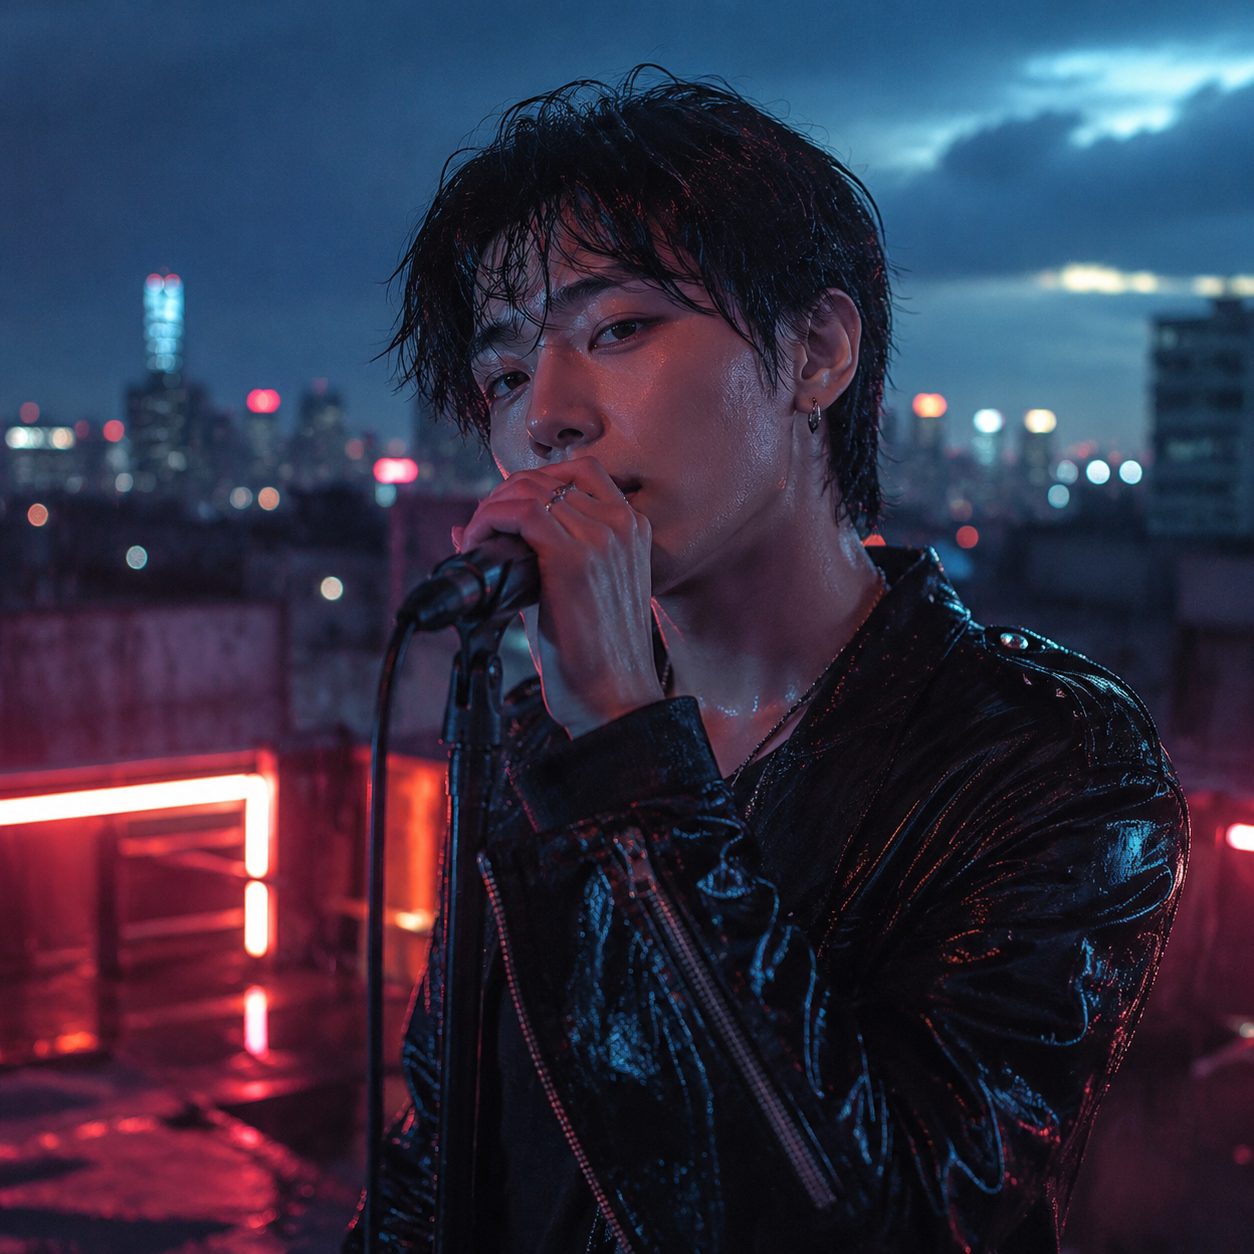
Image: SunoMV Team · Seedance finished-frame lighting example
Practical rule: Give every prompt one dedicated paragraph just for lighting — light direction + texture (hard light/soft light) + contrast (low-key shadows/bright and airy). Write that paragraph, and you can delete the words “cinematic” from the rest of your prompt.
5. Four Rules for Motion and Externalized Emotion: Making Characters Act, Not Just Move
The official guide gives four concrete rules for describing motion, and every one of them can go straight into your writing habits:
- Break body movement down + quantify degree: Get specific about hands, legs, head — add amplitude and speed. “Slowly raise a hand,” “quickly turn the head,” “push off the ground forcefully” — not “he moved a bit.”
- Favor slow, continuous small movements: The official guide explicitly recommends avoiding high-burst actions like sprinting, big jumps, or violent tumbling — those are where things fall apart most often. Want high energy? Hand that energy to editing pace and camera work instead of making the character do a backflip in a single shot.
- Write out the connective tissue between movements: “Using the momentum of the turn to swing a hand up” — spell out how the momentum carries from one motion into the next, so the footage reads as continuous.
- Externalize emotion into physical detail: Don’t write “very sad.” Write “head down, shoulders trembling slightly, fingers unconsciously clutching the hem of her clothes, tears welling up but not falling.” The official guide even provides a table mapping abstract emotions to physical detail — worth saving.
The Western cowboy sample released on launch day pushes this to the extreme: a 10-second facial close-up carrying an emotional arc from “calm and focused” to “a flicker in the eyes, a slight raise of the brow” to “the corner of the mouth lifting almost imperceptibly” — the entire performance carried purely through micro-shifts in the eyes and mouth. 2.5’s grasp of performance can now handle instructions at that level of subtlety.
Here’s what shot continuity paired with character consistency looks like across a cross-scene narrative:
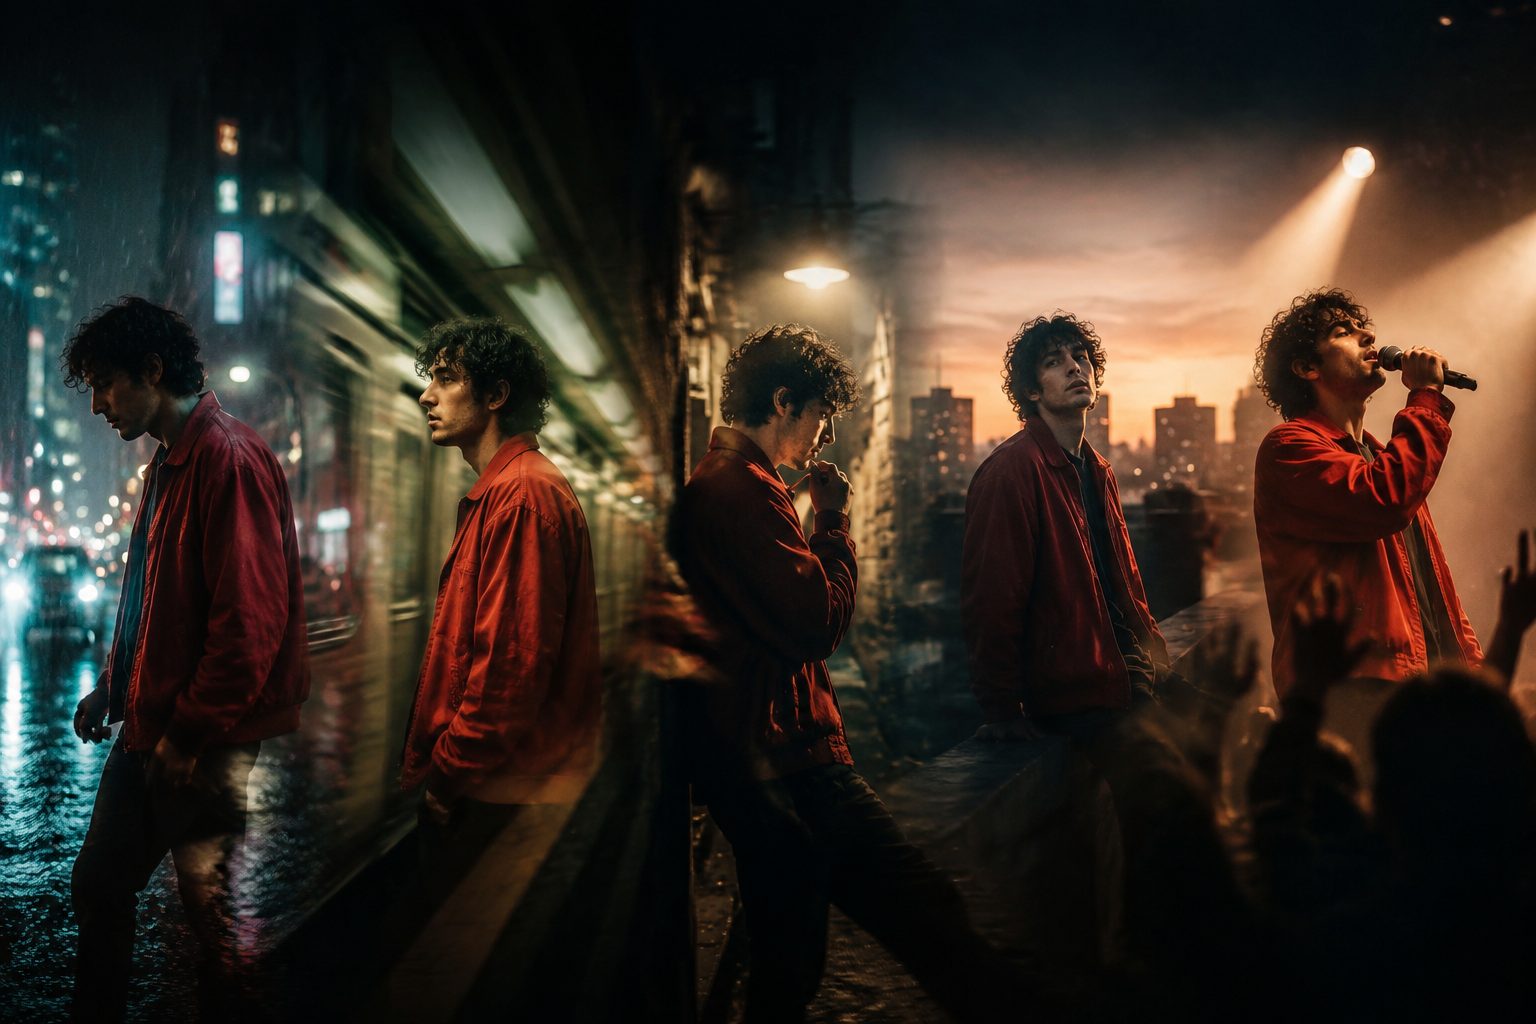
Image: SunoMV Team · cross-shot character consistency example
6. Putting This Formula to Work on Music Videos: What SunoMV Does
By now you might be thinking: a song can have dozens of shots, and writing every single one to the official formula by hand is a lot of work.
That’s exactly what SunoMV automates: a song gets broken down into a shot script automatically — an AI director first plans the character design, visual motifs, and emotional arc across the whole track, then generates the specific shot description for each line of lyrics, with the official best practices around lighting, color, and motion amplitude built directly into the generation logic. The full Seedance model family (including the 2.5 early-access version) is right there in the video model list — pick the model, drop in a song, and get out an MV complete with transitions and subtitles.

If you want the full workflow in more depth, these two posts go deeper: the five-step Seedance + Suno audio-to-finished-video workflow, and what Seedance 2.5 and 4K mean for music videos. To see it done hands-on, check out this tutorial on turning a Suno song into a full AI music video (Roboverse, 12 minutes).
Frequently Asked Questions
Q: How long can a Seedance 2.5 prompt be?
Official samples generally run 500–1500 words, with 30-second complex-narrative examples running even longer. With 2.5’s stronger instruction following, long prompts largely don’t get their information dropped — as long as they’re organized into the four-part structure rather than one long stream of consciousness.
Q: Is there an official tool to help optimize prompts?
Yes. The 2.5 guide recommends the sd25-pe prompt-tuning skill (installed via npx) — feed it your draft prompt and it rewrites it to match the official conventions.
Q: How much more expensive is 2.5 than 2.0? Can I still use 2.0?
Official pricing puts 2.5 at ¥70 (≈$9.7) per million tokens (excluding video input), versus ¥46 (≈$6.4) for 2.0 — about 52% more. 2.0 hasn’t been discontinued, and it’s still the cost-effective choice for everyday content. We’ve written a full comparison on how to choose between the two generations.
Q: Do I need to write the timestamp format myself in SunoMV?
No. SunoMV automatically formats the shot structure based on the model you select — second-level timestamps for 2.5, numbered shots for the 2.0 family — this routing logic is already built in, following the official guide’s recommendations.
Try It Now
Memorizing the official formula is one thing; actually getting good footage out is another. Head to the SunoMV audio-to-video generator, drop in a song you’ve had on repeat lately, pick Seedance from the model list, and see for yourself what a prompt built on the official method can turn a song into.
SunoMV Team
Popular guides
More in this series
- Suno's New Lyrics Workflow: Lyric Personas + Natural-Language Editing + Structure Tags (2026)
- Suno Prompts: 10 Copy-Paste Templates (Free)
- Suno V5.5 Voices + Custom Models Complete Workflow: Create Personalized AI Music Videos with SunoMV
- The Intro-Build-Drop MV Structure Method: Choreographing EDM as Visual Story with SunoMV (2026)
- Seasonal Mood Songwriting Methodology: Translate Four-Season Sensory Memory into Songs with SunoMV (2026)