/icon.png)
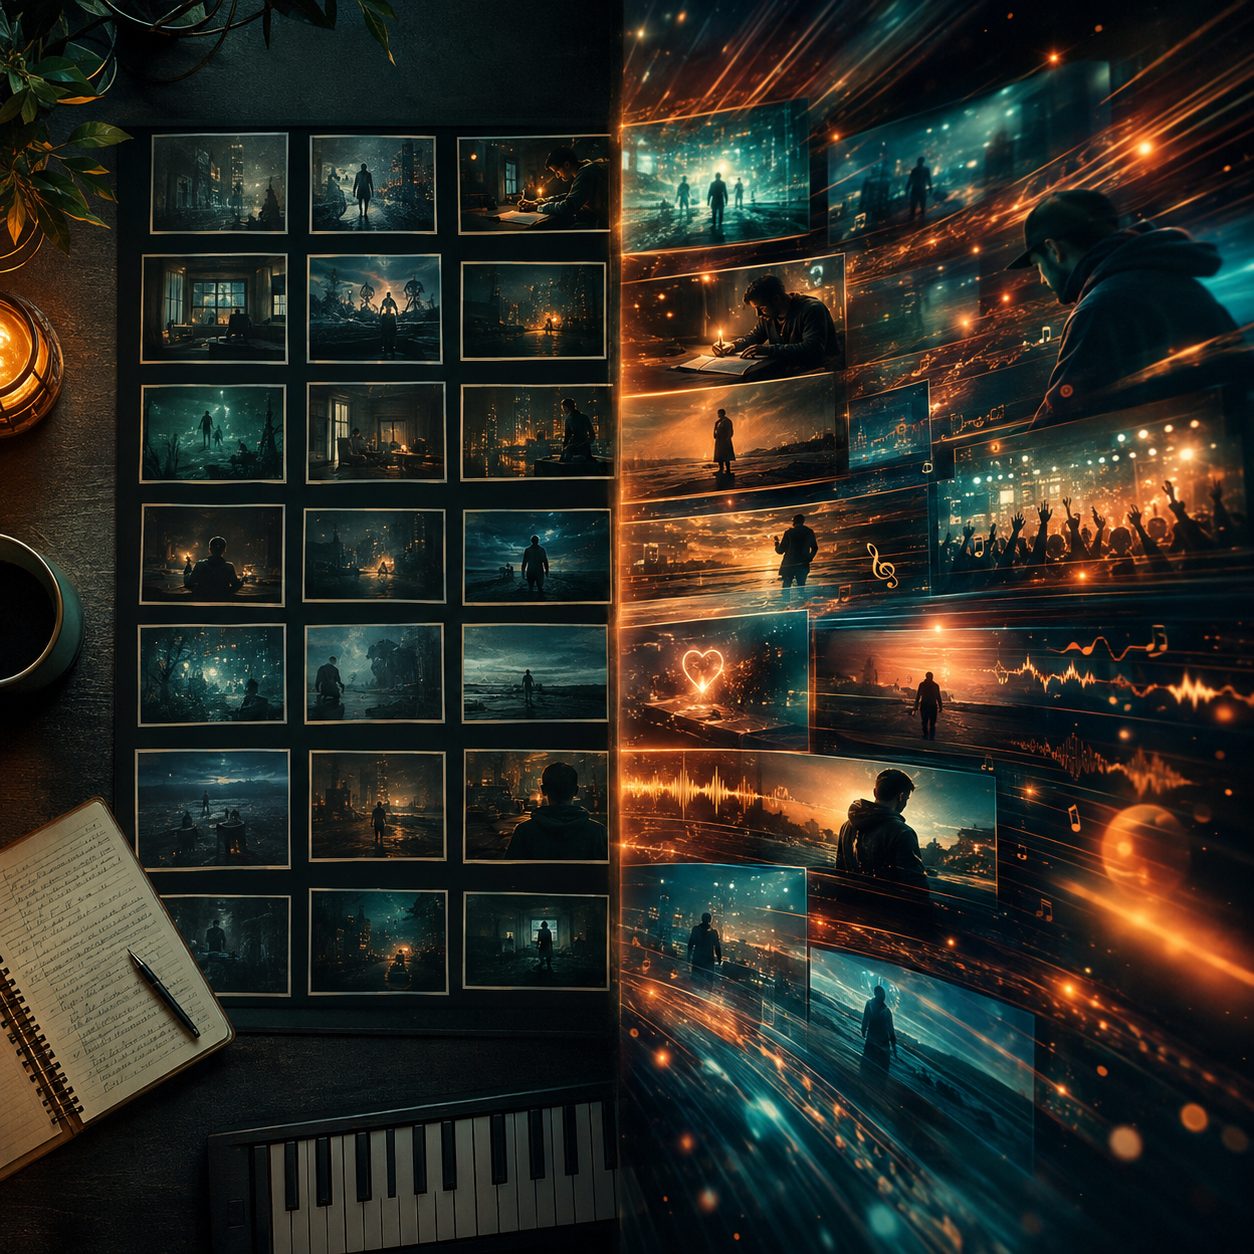
Music Video Storyboard Workflow: Preview the Shot, Then Lock 1080p

You drop the chorus into a generator, ask for the clearest picture it can make, and wait. The file comes back sharp. The face is a different person than the verse. The cut lands a beat late. You now own a clean version of a shot you would not keep.
That is a workflow decision, not a taste problem. Film and music-video sets separate three jobs: the storyboard that says what the shot is, the preview that shows whether it works on the song, and the locked clear version you would actually post. Most AI music videos collapse those three jobs into one click.
This guide is the order crews already use — board the segment, preview it, then lock 1080p — and how to run it when the song is already finished. It is not another tour of the whole production calendar. The four-phase pass lives in the SunoMV production workflow. This one is only about the shot you are about to spend a clear render on.
Why a sharper picture cannot save a bad shot
A 1080p frame shows you the mistake in more detail. It does not move the cut onto the downbeat, and it does not make two chorus close-ups the same person.
Directors learned this on set, long before a model could render a shot. They board the sequence so the crew shares one picture of the idea. They watch a rough assembly — an animatic, a rehearsal take, a daily — against the track. Only then do they lock picture. StudioBinder’s music-video storyboard guide treats the board as the thing you show people before anyone shoots: panels, notes, and arrows, not a finished master. Director Casey Altour cuts unused shots out of the animatic before the shoot, in How To Make A Music Video: Storyboards. The expensive day is not where you discover you did not need the shot.
Practical rule: If you would not keep the shot at preview size, do not ask for it at 1080p.
The cost of getting this backwards is specific. You wait on a clear render, you fall in love with the sharpness, and you talk yourself into a cut that misses the vocal. The next chorus then has to match a face you should have rejected. Starting over at 1080p is how a three-minute song turns into an afternoon of orphans.
Board the segment before you generate anything
A music-video storyboard is not a comic of the whole song. It is a shot list timed to the track. 171 Entertainment’s director guide starts by breaking the song into sections before a single panel exists. Storyboard artist Seb Antoniou marks music-video frames in bars and beats, not just seconds, because the cut has to land on the music — a narrative video with several setups often runs 60 to 120 boarded shots. StudioBinder’s own walkthrough puts a practical page size on that pile: about 4 to 6 panels per page, on a 16:9 frame, so notes still fit.
You do not need 120 drawings to ship a lyric video. You need a board for the segments that can go wrong:
- Mark the section on the song: verse, pre-chorus, chorus, bridge, ending. Write the timestamp and the bar if you know it.
- Name the shot size. Wide, medium, or close-up. One job per panel.
- Write what must stay consistent: face, wardrobe, time of day, lens height.
- Note the cut. Does this shot enter on the vocal, the snare, or a held note?
- Mark the panels you are unsure about. Those are the only ones that need a preview.
- Leave the sure panels unmarked. Those can go straight to a clear render.
Skip the board and the preview has nothing to confirm. You will watch a clip and say “it’s fine” because you never wrote down what fine meant.
Practical rule: Board the shots you might throw away. The ones you already trust do not need a second opinion from a preview.
Preview one segment against the song
A preview is a look at one segment. It is not the music video, and it is not a smaller copy of a decision you have already made. Play it on the vocal. Mute it and look again. If the face, the move, or the cut is wrong, the preview did its job.
On SunoMV, that look is a choice on the segment you are shooting, not a mode for the whole project. Two things are worth knowing before you click:
- The faster default model does not offer 1080p. It is for moving through ideas. Do not ask it for the master.
- Seedance 2.5 is the model that can finish a segment at 1080p. You can preview the segment first, or render 1080p in one pass when the board is already tight.
Watch the preview the way an editor watches an animatic. Altour’s point in the video above is that some boarded images never get shot, because the assembly showed they were not needed. Do the same with a generated segment. If you would cut it, do not lock it.

Check three things and stop:
- Identity. Is this the same person as the other shots in this section? A close-up that recasts the singer will poison every later chorus.
- Timing. Does the move finish on the lyric you boarded, or does it arrive late and look busy?
- Use. Would you cut to this shot in the edit? If the answer is “maybe later,” it is still a preview.
A preview you can still turn into 1080p has a window: do it within 7 days. After that, the segment has to be shot again if you still want the clear version. Do not treat the preview as an archive.
Lock 1080p only after the shot holds
Locking the clear version means you are keeping the shot. On Seedance 2.5, that is either “make this preview into 1080p” or “render this segment at 1080p now.” Both are decisions about one segment. Neither is a promise about the rest of the song.
Go to 1080p when all of these are true:
- The board for this segment has not changed since you watched it.
- The face, wardrobe, and time of day match the shots it will sit next to.
- The cut lands where you marked it.
- You would post this shot if the rest of the video disappeared.
If one of those is false, stay on the preview or change the board. A clearer file will not negotiate.
The direct path exists for a reason. When the storyboard is already specific — shot size, action, and what must match — rendering 1080p once is the shorter route. Previewing a shot you have already approved is how people talk themselves into a second guess. Use the preview for doubt. Use the single 1080p pass for conviction.
Practical rule: 1080p is a keep decision. Preview is a maybe. Do not mix the buttons up because you are impatient.
The page that walks the same order as a product, including which model can actually finish at 1080p, is Preview, Then 1080p. If the song is not in the project yet, start at Suno to Video and come back to the segment you are unsure about.
When to skip the preview and shoot 1080p once
Not every segment deserves a rehearsal. Skipping the preview is correct when the board is boringly specific and the shot is low-risk.
| Situation | What to do | Why |
|---|---|---|
| Chorus close-up, face must match | Preview, then 1080p | A wrong face at 1080p contaminates the section |
| Wide shot you have boarded three times | 1080p once on Seedance 2.5 | You are not still choosing |
| A gag you might cut | Preview only | Clarity will not make it funnier |
| Exploring an idea on the fast model | Stay on the fast model | It has no 1080p, and it should not |
| Preview you liked last week | Shoot again if 7 days have passed | The upgrade window is closed |
Practical rule: The fast model is how you move. Seedance 2.5 is how you lock. Asking the fast model for 1080p is how you find out it does not offer one.
Narrative work that needs a real shot list — dialogue scenes, coverage, a paper board you hand to someone else — still belongs on a storyboard tool. Drama.so’s storyboard templates are built for that kind of scene breakdown. A music video can steal the habit (section, shot size, what must match) without pretending a three-minute song is a short film.
A checklist for the next song
Run this on the next track before you touch a clear render. It fits on one note.
- Listen once and mark verse, chorus, bridge, and the ending, with timestamps.
- Pick at most six segments that can fail: usually the choruses and one risky cut.
- For each, write shot size plus one consistency note (face, wardrobe, or light).
- Preview only those. Watch them on the vocal, then muted.
- Throw away the ones you would not cut to. Do not “save” them at 1080p.
- On Seedance 2.5, lock 1080p for the ones that held — from the preview, or in one pass if you never doubted them.
- Leave everything else on the faster model until you care.
Practical rule: One song, a handful of previews, a smaller handful of 1080p locks. If every segment is a master, you never made a decision.
Open the segment you are actually unsure about and preview it or lock 1080p. The clearer picture should be the shot you already chose.
Popular guides
More in this series
- How to Lip Sync a Suno Music Video Without Reshooting
- Suno Arrangement in Practice: Lock Song Structure with Timeline Section Tags So Your MV Storyboard Has Something to Stand On (2026)
- Christmas AI Music Video Planning: The Q4 Holiday Production Calendar (2026)
- SunoMV Music Video Production Workflow: A Complete Professional Guide from Concept to Final Cut
- Negative Space Wins: The "Breathing Room" Editing Method for AI Music Videos (2026 SunoMV Method)